A few weeks ago I mentioned that one of the items on my “to do list” was painting track. Painting track was for years one of those things that I thought was something that the detail obsessed rivet counter would do – right after they finished hand laying their track.
But since I started building this layout, and in particular since I started taking closeup pictures on the layout I realized that the shiny brass rail wasn’t really doing it for me.

The idea became even more attractive when I discovered that Woodland Scenics has a cheap and easy to use “pen” for painting track. There’s three colors – steel rail, rusty rail, and weathered tie and all you need to do is run your pen of choice down the rail side to paint it.

Once you’ve painted your rail use a bright boy cleaner to clean the paint off the top of the rail head so that you don’t have any issues with electrical conductivity and you’re done.
With Kato Unitrack I’ve found that the Weathered Tie is unnecessary. It doesn’t show up well and honestly I think it’s a pain to do in N Scale. For the rails, I used the Rusty Rail color for the yards and sidings and the Steel Rail color for the mainline track.
So far I’ve been really happy with the result.
Along the same lines I’ve also been playing around with weathering various elements around the layout. Weathering was another thing that I couldn’t really bring myself to do. I was more open to it when it came to buildings – and the two bay engine house that features in many photos is one of the few buildings that’s been weathered on the layout.

I love how it looks, but it’s also not something I did. This building was on the original layout 20 years ago and my wife did the weathering with pastels back then. I never thought I could achieve results that looked anywhere near as good.
Besides that, I admit that I was the kid that didn’t like his toys to get messed up. I didn’t write on them, I didn’t like it when they got dirty, and I definitely didn’t like it if they got broken. So the idea that I’d deliberately make my trains like dirty, worn, and grungy is a difficult one to grasp.
Then I did the flatcar build a few weeks ago. That needed to be weathered in order to capture the look I wanted and since I actually have six of those old B&O coaches I wasn’t concerned about screwing them up. Given how well those turned out, I decided to branch out and try some more.
First up were some ConCor Autoracks that I picked up for $15 last year. Again, cheap cars that don’t get run a whole lot on the layout.

I used Tamya Weathering Powders on these just like I did on the wreck car and they I think they came out really well.

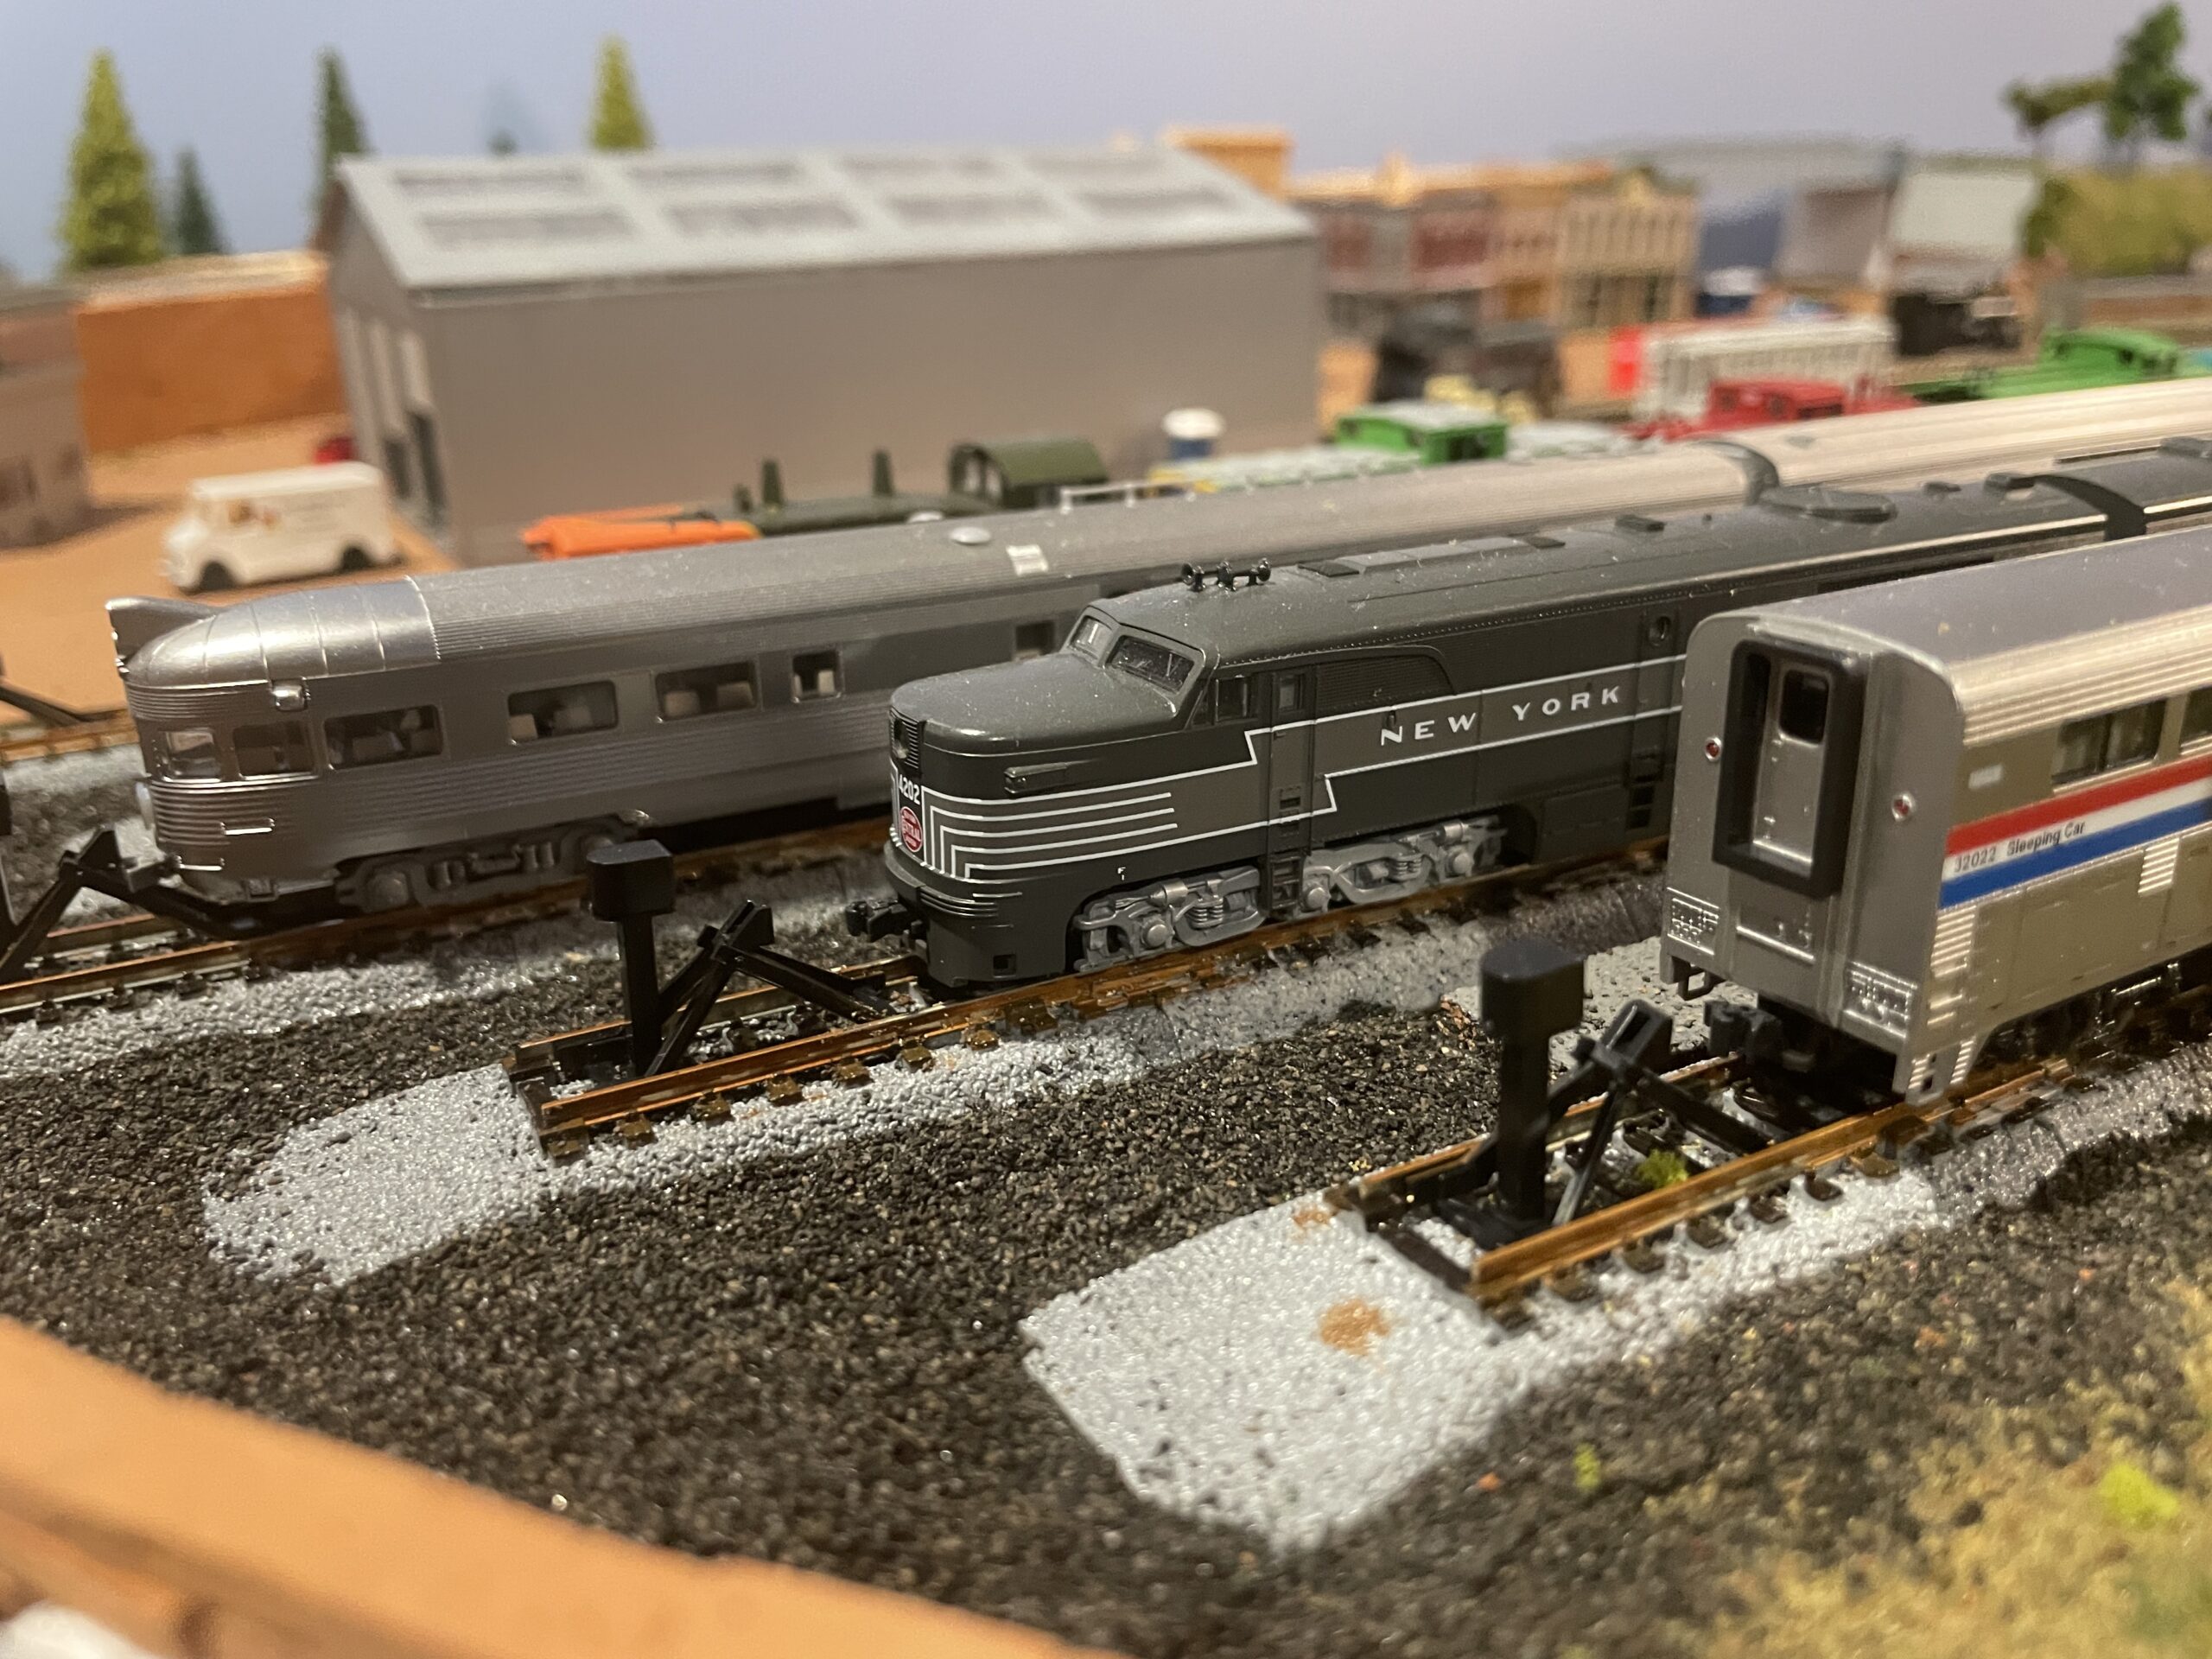
After that I figured I’d try a little “soot staining” where the main line crosses under the Big Bridge on the East side, and that led me to take the plunge with something I was a bit more emotionally invested in – Kato Amfleets and Viewliners.

I don’t have too many of these so mentally taking the plunge with these took a bit more effort. I wasn’t looking for filthy worn out cars here… Just enough grunge to take the shine off of them and make them look used.

I think I achieved my goal of worn but not neglected looking…

In a lot of ways this reminded me of editing a picture in Photoshop. Once you’re comfortable with it it’s not hard to do and it’s easy to get into that loop of “just a little bit more” that at some point you need to figure out how to pull yourself out of.
Given the results I’m interested in weathering both the Rapido Comet cars and the 500 Series Shinkansen. Both of these have some unique weathering patterns that I don’t think are that hard to reproduce – once I get over the barrier of making my toys look dirty…