I’ve mentioned before that there isn’t really a whole lot available in N Scale if you’re looking for models from the Northeast Corridor. Bachmann used to offer an E-60, the Acela Express set and the HHP-8 although none of them are still in production and all are hard to find. GG-1s are a relatively new offering in N scale with the first coming out after 2000. Oh, and let’s not forget Kato’s first offering:

I don’t have a model name or number for this thing – it’s not actually a real engine. The squared off shape is kind of reminiscent of an AEM-7, but that was an 8 wheeled two truck engine, this has 12 wheels and three trucks. It kinds of looks like a Japanese EF-61 but there are differences there too.


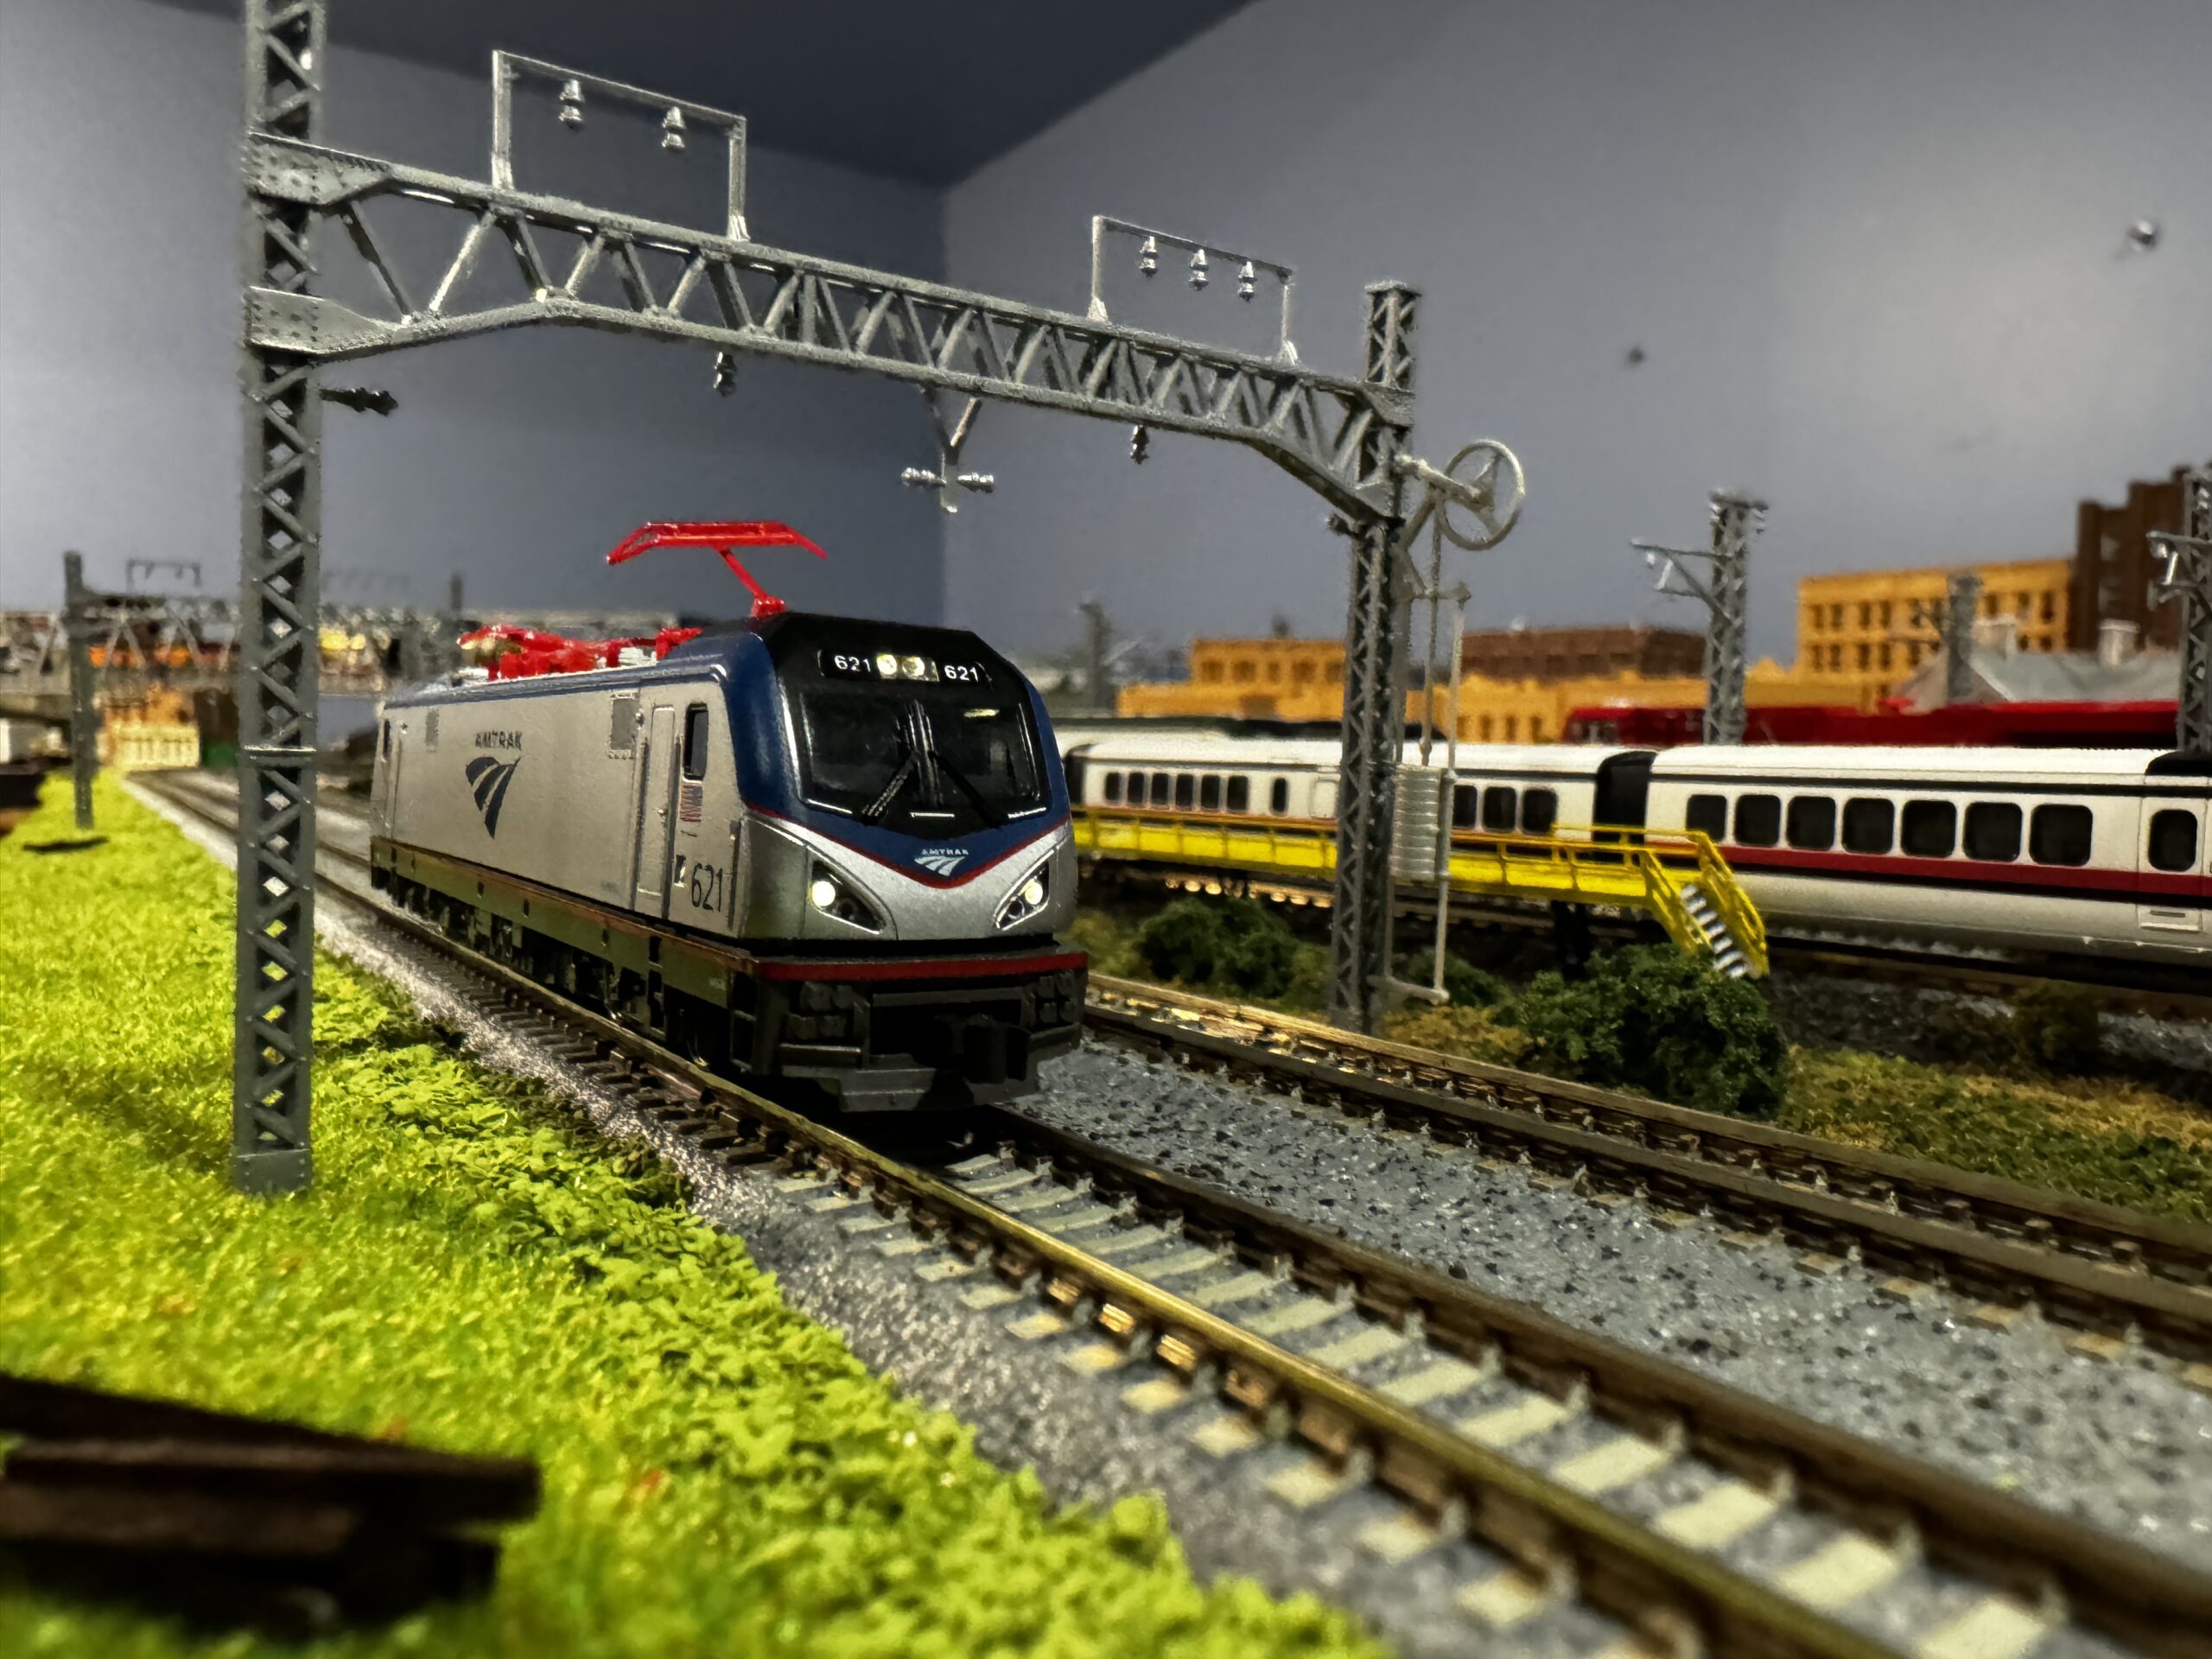
Thankfully, Kato’s offered a better option for the past few years with Amtrak’s newest electric engine the Siemens ACS-64 City Sprinter, something that you’ll actually see running on the Northeast and Keystone Corridors.

It’s a decent model, the prototype is a bit plain in its own right so there really wasn’t much for Kato to bring to the party with this. I think that the red electrical gear on the roof makes the model look more toy like – but it’s also prototypical, on the real thing it’s red too, although maybe not quite as bright red.
I installed a Digitrax DN163K4A decoder to add DCC to the engine. For the most part this should be a fairly straightforward drop in installation with no soldering needed, however it was one of the most frustrating DCC installs I’ve done in quite a while.
The overall design of the model is essentially the same as Kato’s Glacier Express and the instructions to install the decoder in the Glacier Express will work for the ACS-64. However, removing the shell of the ACS-64 is a challenge. There’s a clip behind each door at each end of the engine (4 total) that you need to pry away from the body in order to release the shell, and you have to be very careful not to break the electrical gear on the roof. Kato has a video, but it’s not nearly as easy to do as it appears.
When it comes to removing the light board you’ll want to lift the skinny section at the rear of the decoder slightly before sliding everything forward and lifting it all out. There are two small nubs that hold the decoder in place, you need to lift the decoder up just enough to clear those nubs before trying to slide the decoder forward and lifting it out – this is not in the instructions.
For the final install, I needed a lot more kapton tape than what Digitrax provides. In addition to placing tape where they recommended I essentially placed tape across most of the top of the engine in order to ensure that the board not only remains isolated from the frame but also remains in contact with the contact tabs when the shell is reinstalled. Something to be aware of – the DN163K4A sits high enough that when the shell is installed it makes contact with the inside of the shell, and the shell puts enough pressure on the DN163K4A that it can flex and lose contact with the contact points and doesn’t work. The only way you know that you have a problem here (or that you’ve fixed the problem) is by installing the shell, and the only way to fix the issue is to remove the shell. Remember how I said that the shell isn’t easy to remove? Not a fun install.
Other than that, it’s a basic decoder in a basic engine. Kato used light pipes to channel the light from the LEDs on the light board (or decoder) to the headlight and ditch lights, and they are directional. But, because it’s just one light on either end of the decoder and a light pipe you don’t get an option for flashing ditch lights. Heck, you don’t even get red marker lights.

While this does make for a simpler to manufacture model, and allows Kato to use the same general design for other models that might not have flashing ditch lights, it’s not quite prototypical either.

I also wish that Kato would do something a little more substantial with the pantograph. It’s plastic and it feels extremely flimsy. Just lifting it up feels like it’s at risk of breaking, and the pan (the part that actually would contact a wire if there was one there needs a separate adjustment so that it’s sitting at the correct angle when the assembly is raised up.
On one hand I like that Kato’s pantograph designs aren’t spring loaded – most N scalers aren’t running powered catenary, and Kato’s own catenary poles don’t even allow for wire to be strung from them, so not having to figure out how to put pressure on an overhead wire is good. But, their flimsy design also discourages running with the pantographs up in general because if feels like they’re going to break just raising them up.

Kato has released the ACS-64 as part of book case and starter sets as well as individually, but they seem to be easier to find as part of a bookcase or starter set.