Even though I let my subscription lapse this year, I keep old copies of Model Railroader magazine around, and if you can get your hands on a stack of old issues I’d recommend grabbing them. One of the timeless things about Model Railroader is that it’s a great source of inspiration for small (or some times not so small) detail projects that can be a neat showcase feature around your layout.
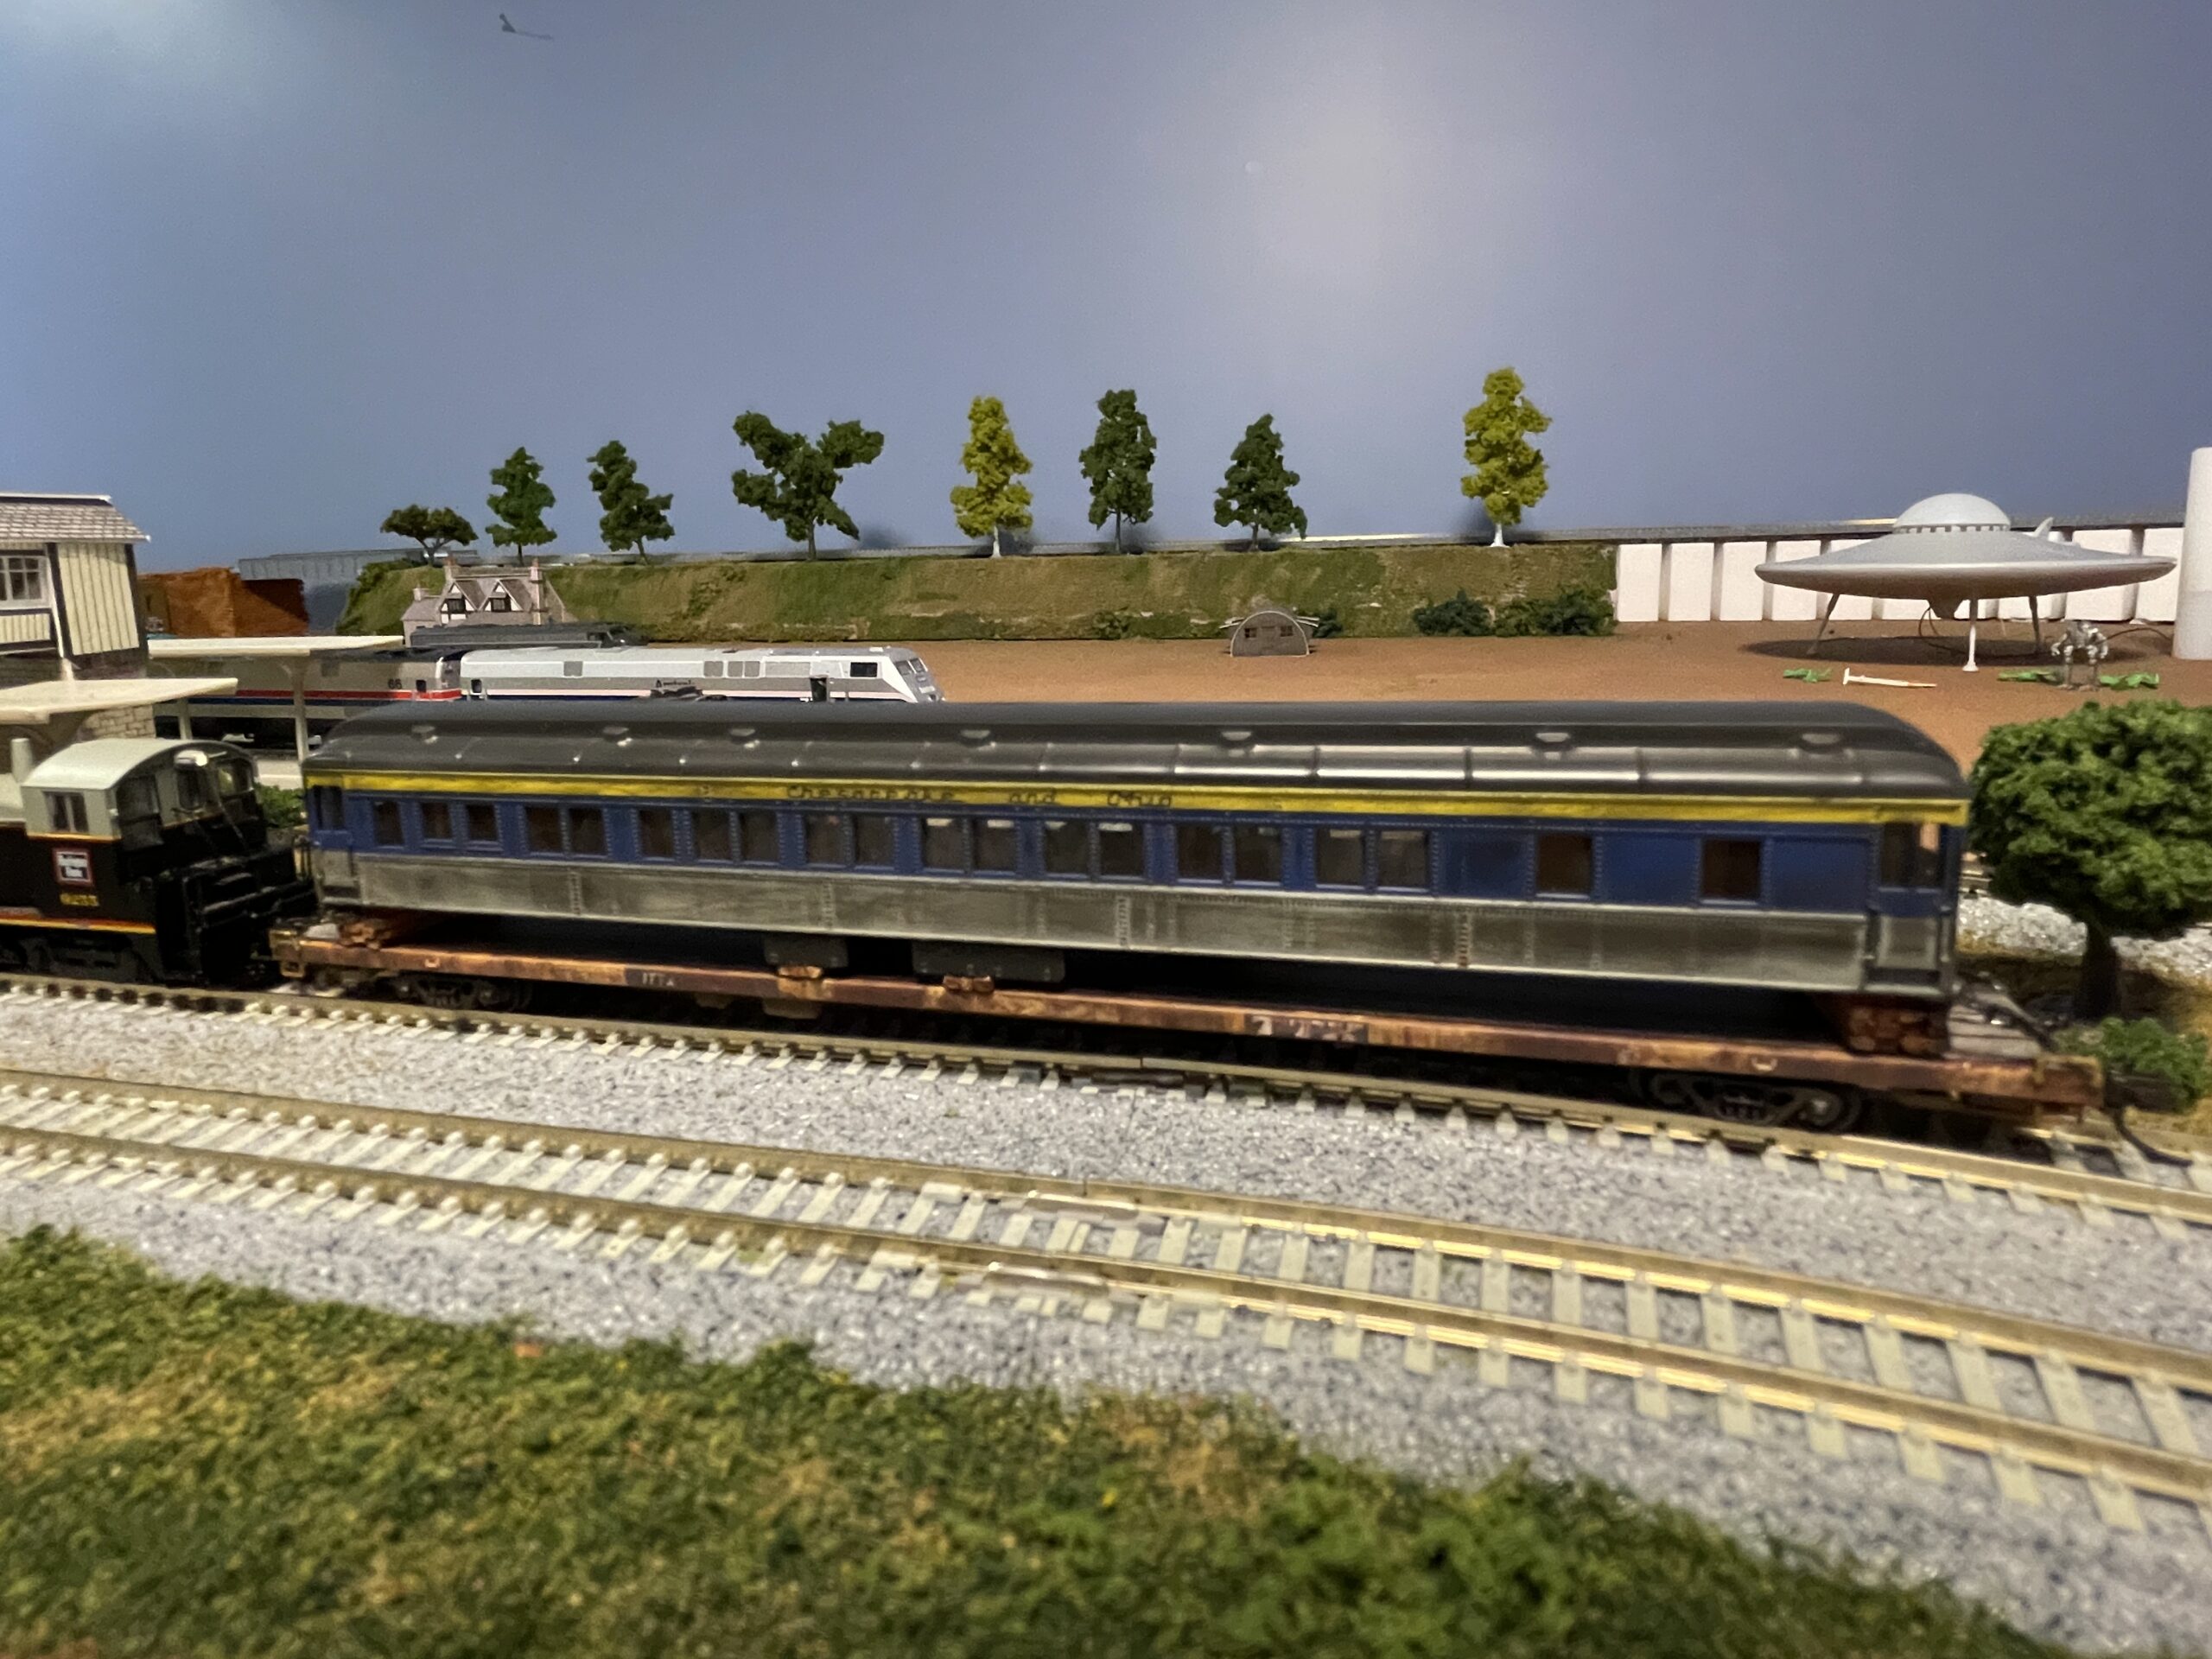
In the February 2022 issue was an article that inspired my most recent project. “Modeling a Railcar Load” by M.R. Snell was about the author’s project to model an outdated passenger car being transported without trucks on a flatbed as part of a manifest freight train. The author was replicating a car that was specially outfitted for transporting loads like this in HO Scale.
My version is a bit different from the one in the article, but it fits my vision of what I wanted it to look like.

Follow along and I’ll tell you how I did it.
What You’ll Need
A donor car to use as a load
A flatbed car to carry the load
N scale wooden ties
Wood stain pen
Weathering materials of choice
Quick setting super glue
Chain – 27 links per inch
How I Did It
The donor car for this project was a Rivarossi heavy weight C&O passenger car, these were cheap passenger cars that I occasionally used to run on the old layout. Between the fact that they were old, cheap, had rapido couplers, and that I don’t have a C&O locomotive to pull them with made them a good candidate for the project.

The weekend I started this project I was over at Lombard Hobbies and they had a two pack of Micro-Trains 89′ weathered flat cars which seemed like the ideal candidates to mount the passenger car on.

Step one was to pull the trucks off the passenger car.
Next, I took a handful of N scale wood ties, the kind you would use if you’re hand laying track, and heavily stained them with an Oak stain pen so that they looked like weathered wooden timbers. I placed a few in the center of the car along the “mechanical boxes” on the under frame so that the car didn’t sit directly on those boxes on the flat car. Additional timbers were added on either end to ensure that the car sat flat and didn’t wobble.

At this point I just set the passenger car on the flat car and ran it around the layout to ensure that there weren’t any clearance issues. Given that this load is a little on the tall side compared to a general passenger car I wanted to make sure I didn’t have any issues.

It was clear once I put the passenger car on the flatbed that the passenger car had to be weathered in some fashion.

Very little on the layout is weathered. I like it when details are crisp, and the thought of adding grime and grunge to something that I paid a lot of money for can be hard for me to wrap my head around. But with this project a bit of grime is definitely needed, and since I wasn’t really concerned about ruining the car I decided to give it a shot.
I liberally spread Tamiya’s “soot” weathering powder across the car and the results were really good, and give the car the worn out look I was shooting for.

The final step is the chains. In the Model Railroader article the author found eye hooks that were small enough to be used to mount the chains to the deck of the flatbed, and being able to fix the chain to something fixed to the deck of the flat would have made the chains easier to apply. I couldn’t find anything like that in N scale.
For the chain I used black chain with 27 links per inch from A Line, technically this is for HO scale, but I don’t think that there’s really a point in going with finer chain. As it is, chain this fine is extremely fiddly, it’s super easy to get the lengths of chain kinked up and almost impossible to straighten it back out again.
I ended up only chaining down the ends of the car, and even there I didn’t do the chain down pattern I had planned on. The chain is so fine it’s a bit difficult to work with, you absolutely need to use a quick setting super glue to have a chance of getting the chains in place. The whole thing can get even more difficult if the glue runs down the chain links and the chain starts to bunch together. But overall, I think it came out really well.


