Finally getting back into the swing of things with the layout, which is good because I came back from Trainfest with a few things to start work on.
Done
I’ve been staring at the area around the West Yard/Museum Yard for ages now trying to decide how to finish it out. The first thing I needed to sort out was the area between the stub tracks. If this was a normal yard, I could just ballast them out and be done with it, but this area is intended to be both a working passenger car yard but also part of the public display space of the Museum so I needed something that would look like it was pedestrian friendly.

What I did was lay cork roadbed strips between each track, painted grey so that it looks like weathered pavement. Besides looking fairly realistic, using these strips gives some added height to the walkway which is kind of needed since Unitrack sits as high as it does. I used black ballast to act as pathways from the end of the yard platform to the other tracks.
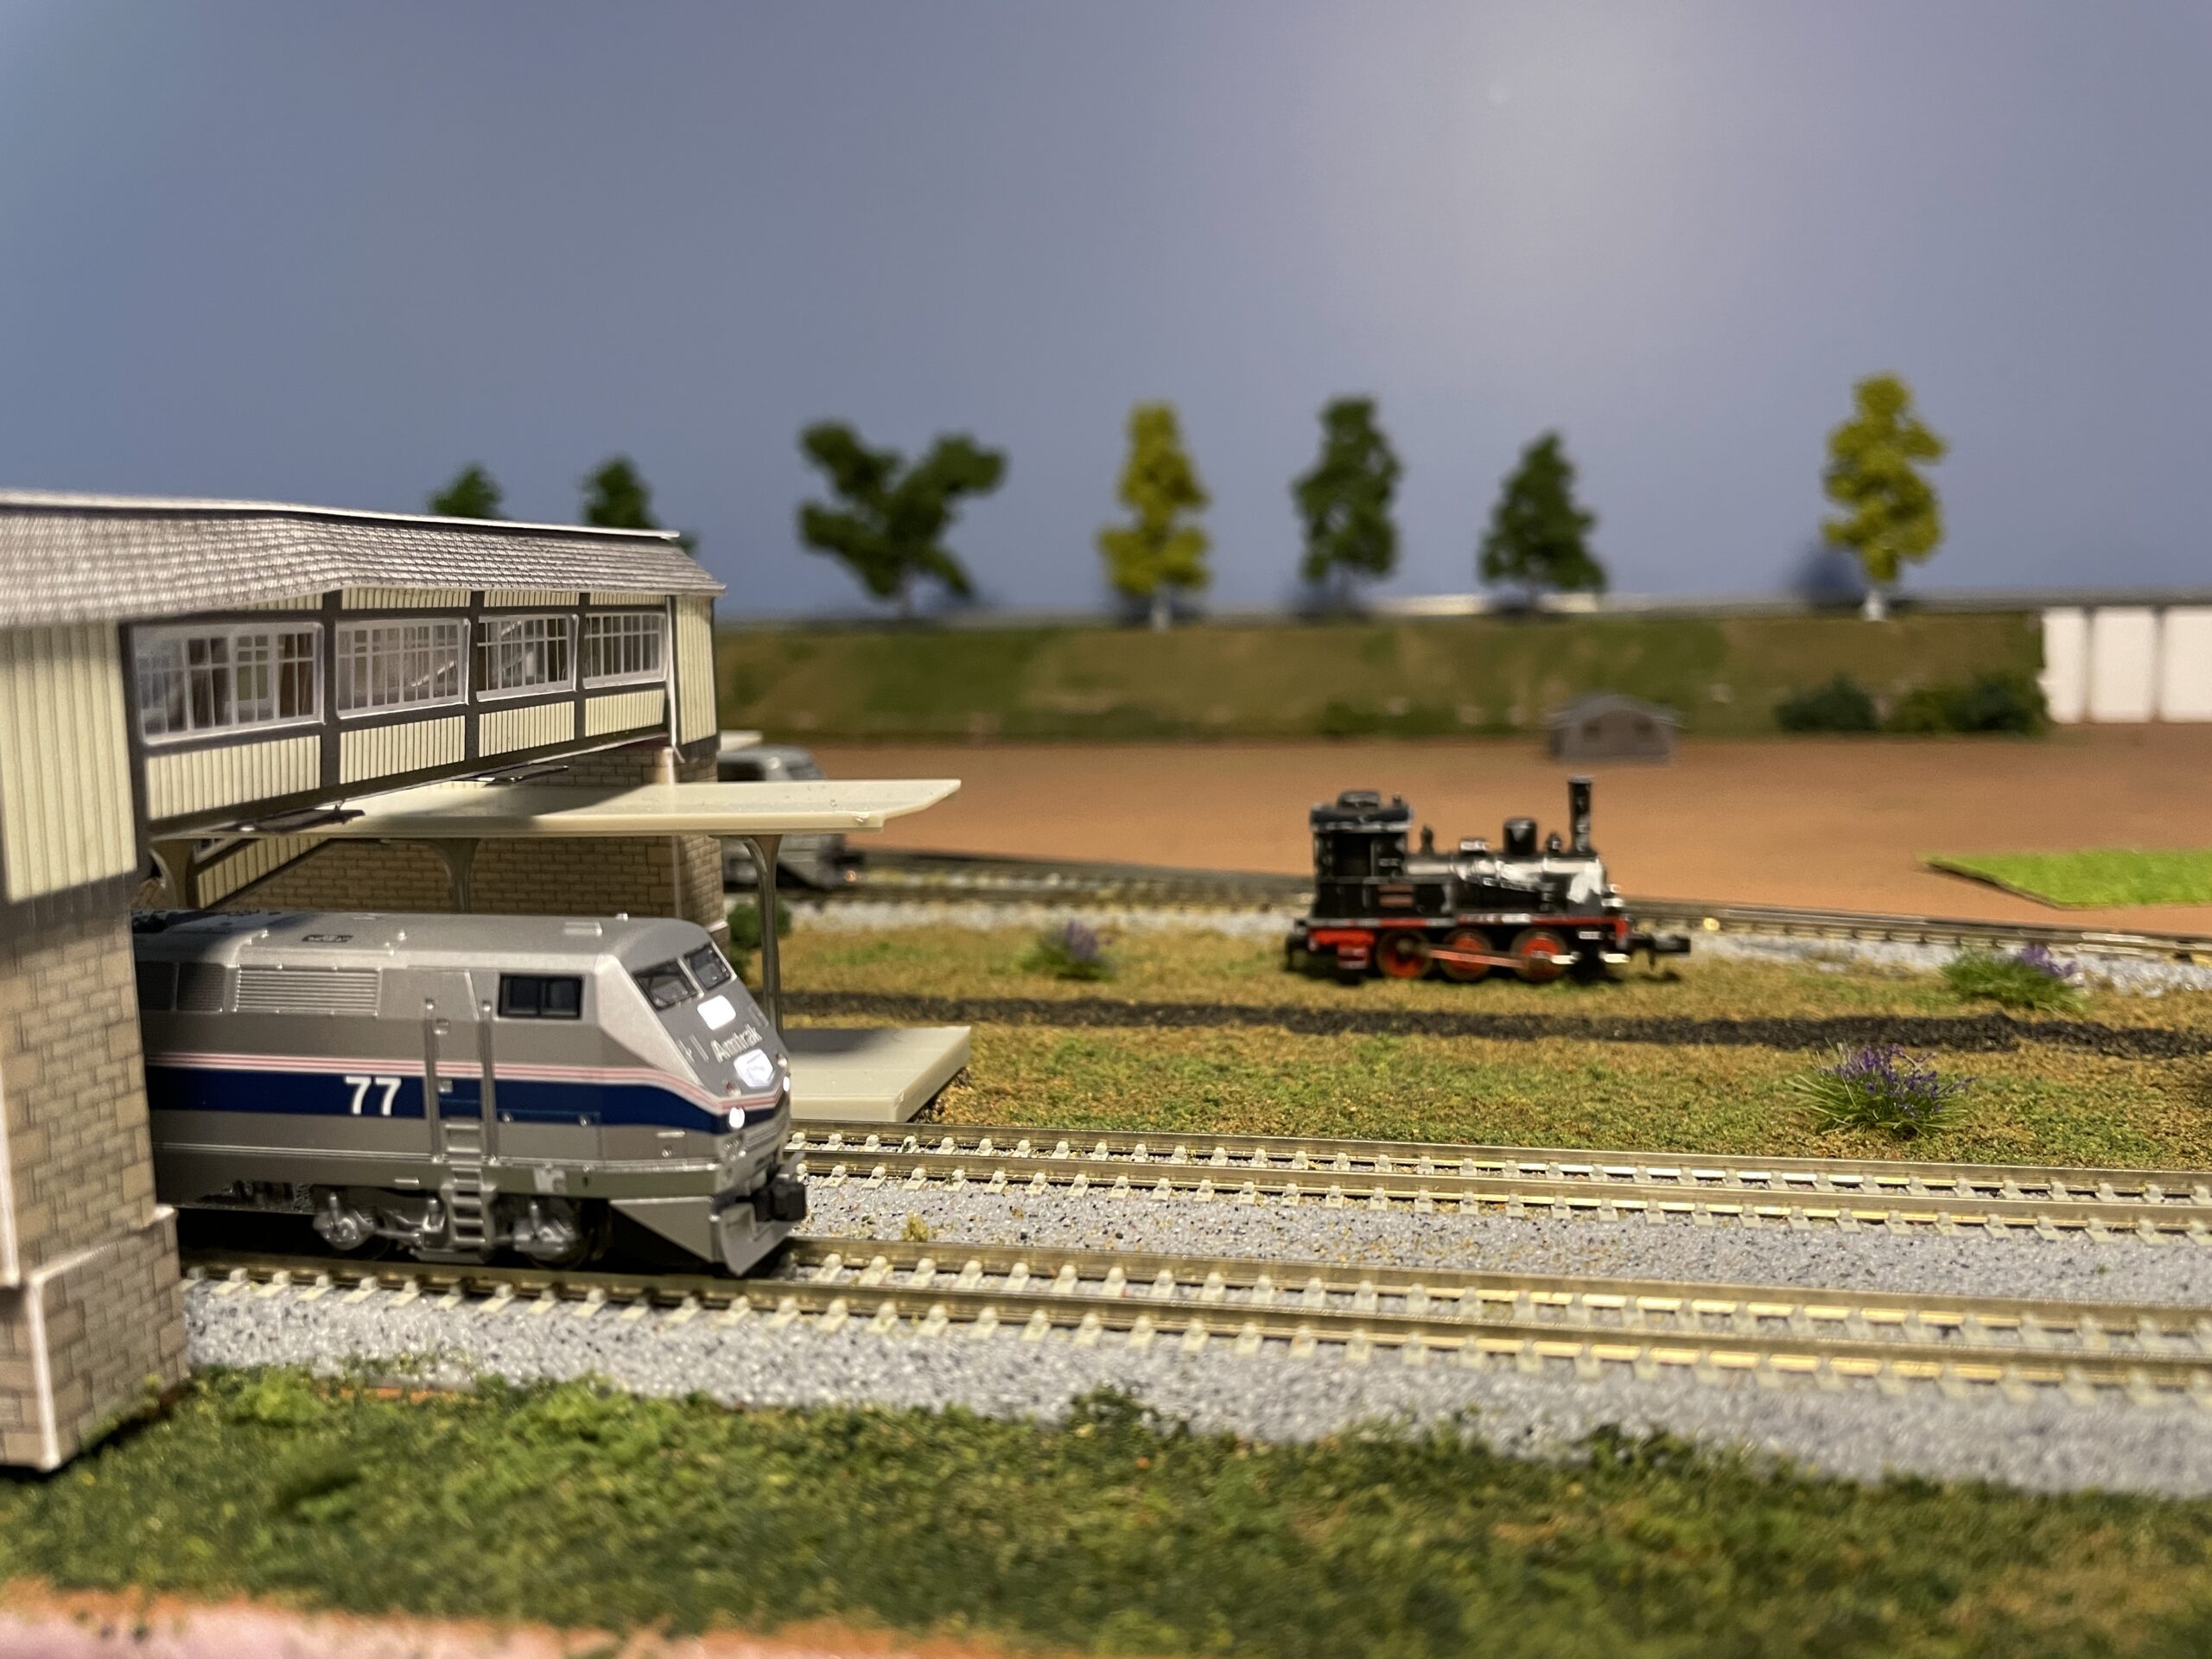
But it wasn’t just the area between the yard tracks that I dealt with, as you can see above I also worked on the area between the mainline and the yard which had been brown painted foam.


This represents the start of the work to build out the museum area of the layout, the footpath crosses the tracks at the only point that makes sense – can’t have folks crossing at the switch points. I’m probably going run that path along the track and back to the shops, that way visitors have the ability to actually get over to the platforms.
The small steam switcher is probably going to be a permanent static display engine. I’m pretty sure it doesn’t work anymore, it’s rather beat up, and there’s no way it can be converted to DCC so this seems to be the “use” of it.

Amtrak 77 is another project that was done – I bought it on eBay and converted it to DCC. These P42’s are pretty simple to do, but I did make a slight change in how I do it. The instructions tell you to pull the pickup rails and wrap a piece of Kapton tape around it to isolate it from the pickup rail – if you don’t you can fry the board… However, I’ve run into issues with a few of the installs of the DN163K0A decoder that Iv’e done in the past, the pickup rails bend easily and they’re not always particularly easy to reseat on the engine once you have a piece of Kapton tape wrapped around it. What I did this time was to wedge a piece of Kapton tape into the gap between the pickup rail and the motor reed, that appears to have provided the needed isolation without the need to jockey the rails back in place.
To be Done
Of course, since this is a model railroad there’s always more to do. In no particular order, here’s the pending list:
Lunde Studios Buildings


I picked up both of these at Trainfest when I was up there and they’re sitting on the workbench.
Wreck Car Build

I saw a project a few months ago in Model Railroader I’ve been meaning to try – building one of these flat cars into a “wreck car.” Basically it involves taking an “old” passenger car, removing the trucks and strapping it down to the flat car. As an added bonus these flat cars are weathered, with weathered decks which I think will add to the look when I’m done. I’ve got a bunch of ConCor C&O heavyweight passenger cars which I don’t run, so I think one should make a good donor for this project. The only thing I still need to pickup is a few lengths of blackened N scale chain to strap the car down.
Also to be done – I’ve decided I’m going to paint my rails. Normally this wouldn’t be something that I’d bother with, but with the number of pictures that I take on and around the layout I think I need to do something about the shiny silver rails. I picked up the set of Woodland Scenics track painting pens and I’m going to give it a go.
Finally – more DCC retrofits are coming. I’ve got three more DZ126 decoders to install, I haven’t decided which of the remaining Japanese prototypes I’m going to install them in yet though.
