It’s been quite a while since the last update. Work in August was focused on ground cover and landscaping, particularly around the edge of the layout along the West Side station. I also did some additional work with the ground cover on the East Side Yard as well, mainly cleaning up and sealing what was already put in.
September was vacation – the entire month of September so no work got done, but now that we’re in October things are starting back up again.
One of the projects for this fall is some DCC retrofits of several sets I’ve had since the first layout 20 years ago. It’s been a few months since I last did a DCC retrofit so it was time to pick up on that again. Last year I retrofitted DCC into my Kato 100 Series Grand Hikari using the instructions I found here on the Club N Caldes blog. All that’s been installed is DCC to control the train, no lighting control. Since the Shinkansens are double headed trains, AND Kato puts the motor car in one of the passenger cars and not in one of the end cars, in order to control the lights you’d need THREE DCC controllers and I’m not interested in taking that on.

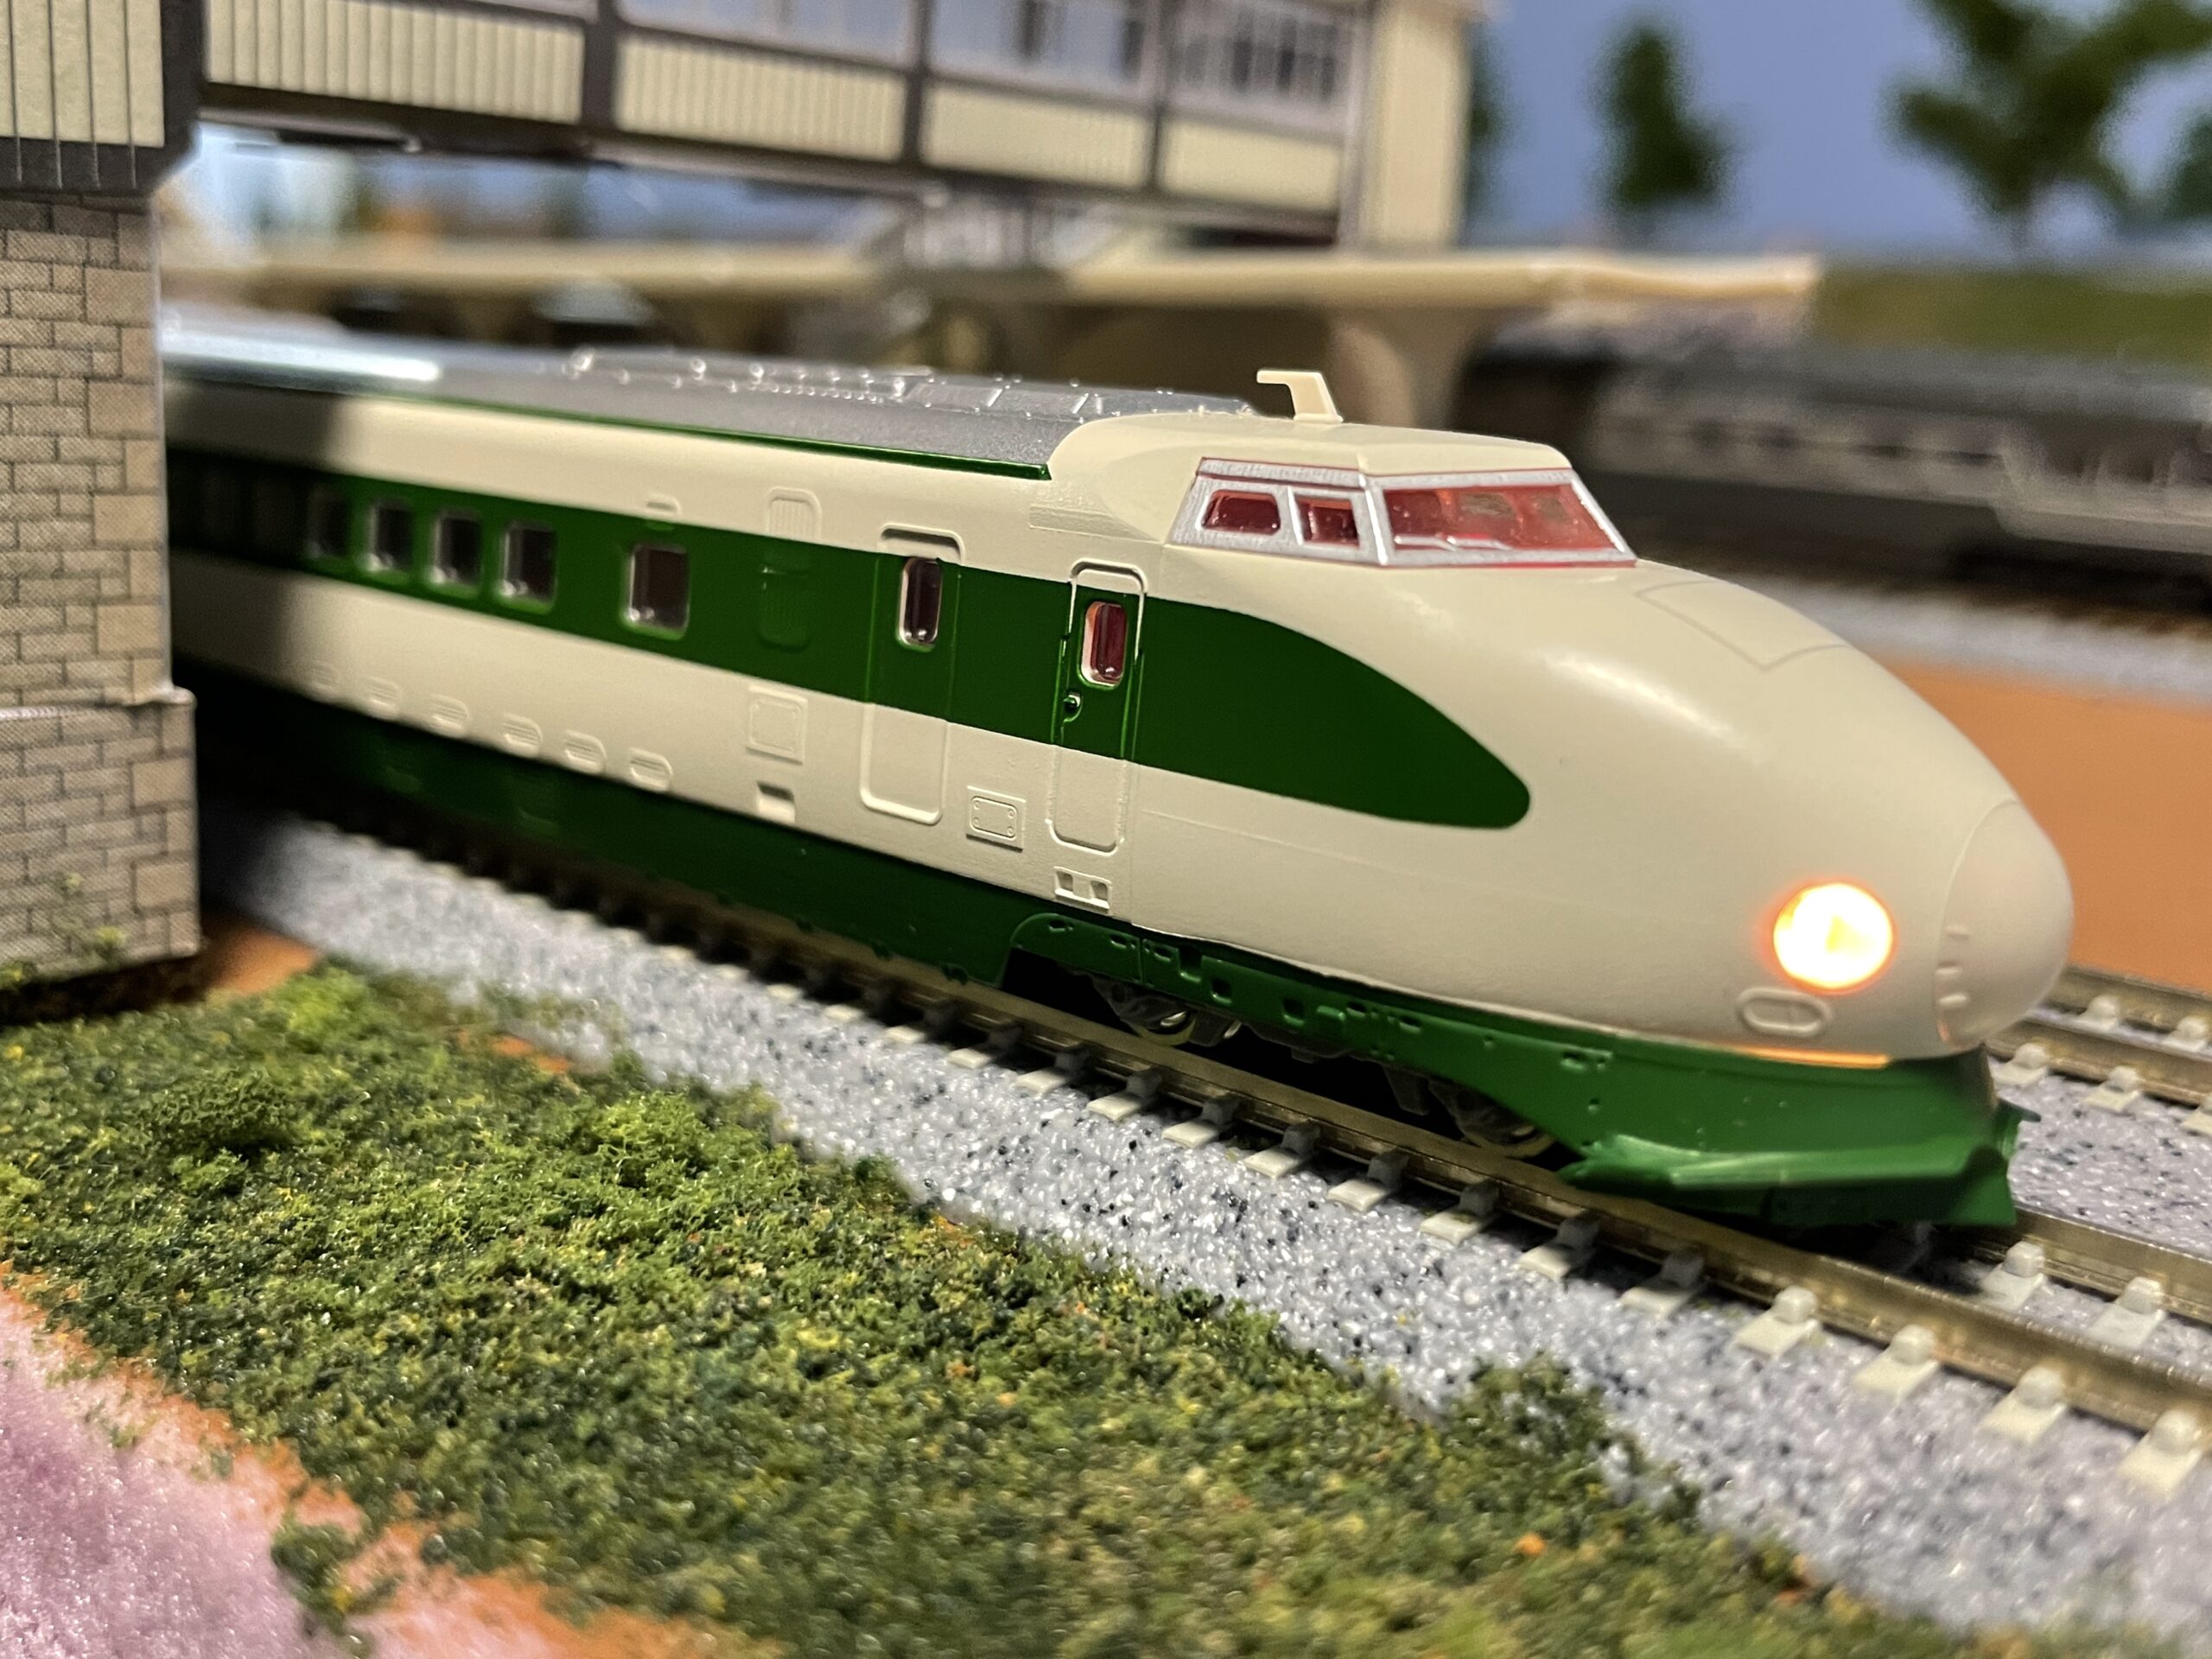
This weekend was about installing in my Kato 200 Series Shinkansen 10-1156 set, and essentially the steps involved are the same as what I followed to install the decoder in the 100 series.

I use the Digitrax DZ126 for these installs, Club Caldes recommends the DZ125, but that’s been discontinued and the DZ126 appears to be the direct replacement for the DZ125. I’ve also heard of folks dropping in the DN163KOA or something similar and I suspect that you could even install an ESU Loksound Micro as an option too.
The thing is, the DZ126 runs just over $20, and the Loksound is over $90, and I think there are basic DCC decoders from the knockoff Chinese brands for under $20. For me Digitrax is a known quantity and that’s what I’m using for now.
As for installing the decoder, the only wires on the decoder that you need are the Red, Orange, Black, and Grey wires. Before installing you can cut the other wires off to get them out of your way.
On the motor car, the shell is the tan part of the body, there’s a seam between the tan and lower green section and that’s where you need to focus your efforts on removing the shell.

While there’s no light board, if you’ve pulled the shell of a Kato engine odds are you’ll see some similarities here. Plastic tab over the brass motor clips and brass motor contact rails along the length of the car.
As with most other decoder installations on Kato engines, you need to isolate the motor clip from the contact rails, otherwise you’ll cause a short. Bend up the motor clips and place a bit of kapton tape on both contact rails under the motor clips, I tuck some in the edge between the motor clip and the pickup rail as well, that way both the top and side of the rail is isolated.

Place the decoder at one end of the car, since the windows don’t go all the way to the car ends you have some space to hide the decoder in. I’d also suggest taping the decoder down with some black electrical tape. It’ll make the install easier because the decoder won’t be flopping around on you.
Run your wires – Orange and grey to the motor clips, red and black to the pickup rails. Trim your wires so that you don’t have a ton a slack, and CAREFULLY strip off a bit of insulation off the ends of the wires before soldering them into place.

That’s it, you’re done. My install probably looks a little sloppy, but once the shell is back on you can’t see my mess. And it works.
If you zoom in REALLY close and look, you can see the decoder in there, but you’ve got to really look for it, to see it. From more than a foot away, you’d have no idea it was there.

After some quick programming, everything is ready to go….
I did run into a minor issue with some foliage I had placed trackside on the East Side grade – they were a little too close to the track for the 200’s liking, and the train snagged on them. This wasn’t an issue with any thing else I run, so a little trimming and tucking and things were all set.

I have two more decoders on hand and will probably drop one in the 500 series set and the other in the 700 series set. But I’m also toying with trying to install one of them in my Tomix E1 Max, I have no idea what the interior layout of the power car is and need to open it up and look before I make the attempt. If it looks anything like what Kato does I may try it.