When I built my first layout about 20 years ago I purchased a lot of Kato’s Japanese high speed trains with a few European ones thrown into the mix. At the time the Acela Express had only been in service with Amtrak for a few years but that was the limit of US high speed electric trains… Plus trains like TGV and pretty much any Shinkansen just looked cooler than Amtrak’s AEM7s or E60s…
One of the trains that I picked up back then was Kato’s model of the Eurostar, which in the real world was also a fairly new high speed train, I remembered how much I loved the look of the model back then and when I was unpacking things for the new layout it was one that I really wanted to get back out on the track.

This model, like pretty much everything high speed set that Kato release back in the ’90s isn’t considered “DCC Friendly” however, as I learned with the 100 Series Grand Hikari many of these sets can still take a decoder without modifying the car that the decoder is installed in…
My initial thought was to drop in a Digitrax DZ126 decoder like what I put in the Grand Hikari – however it’s a good thing I didn’t try that… Unlike the Grand Hikari, the power car for the Eurostar is not one of the passenger carriages, it’s one of the head/end cars and the light board that you replace if you’re upgrading to DCC has the LED on it that’s needed for the lights – the DZ126 doesn’t have an LED. However I did’t know any of this until I opened the power car up. What you need for these is the TCS K0D8A or something similar.
Opening the Eurostar is a challenge in it’s own right – you can’t just pry the side panels and drop the chassis out of the shell. What you actually need to do is pry off the nose of the power car, only once the nose is removed can you lift the shell off the chassis. Oh and once the shell is off be very careful because the coupler will very easily fall out of the coupler pocket.
This is where things went south for me. With the shell off, replacing the factory light board with the replacement controller should essentially be the same as a DCC install on a Kato PA1 or P42 Genesis with the exception that you need to bend the back LED over so that it can illuminate the light tube on the top of the shell…
Unfortunately, just like when I did the PA1 install I ended up pulling the motor out, which caused it to start grinding when I put it back in. Even worse, no matter what I did I couldn’t get the pickup reeds to sit properly in the frame which meant that I couldn’t get consistent current to the motor and the power car would stall. Instead of continuing to battle with it – I went for help….
I sent the whole set to Kelley at Duford Model Works and let him undo whatever it was that I screwed up. Kelley was the one that installed the ESU LokSound decoder in the Metra F40PH that I bought from Lombard Hobby – and he also used to work for Kato. So even though I hadn’t worked with Kelley before, I was pretty sure that the Eurostar was in good hands…

Kelley got everything sorted out – including a little bit of frame milling that was needed in order for the decoder to fit properly in the power car, an LED light upgrade, and he installed an FL12 decoder in the other power car so that the lights in both head/end cars work properly.
I got the Eurostar back from Duford Model Works this week and it runs… well it runs ok…. Don’t get me wrong, Kelley did terrific work getting the Eurostar going, but once I got it on the layout it didn’t take long for me to be reminded how much of a diva this model is….
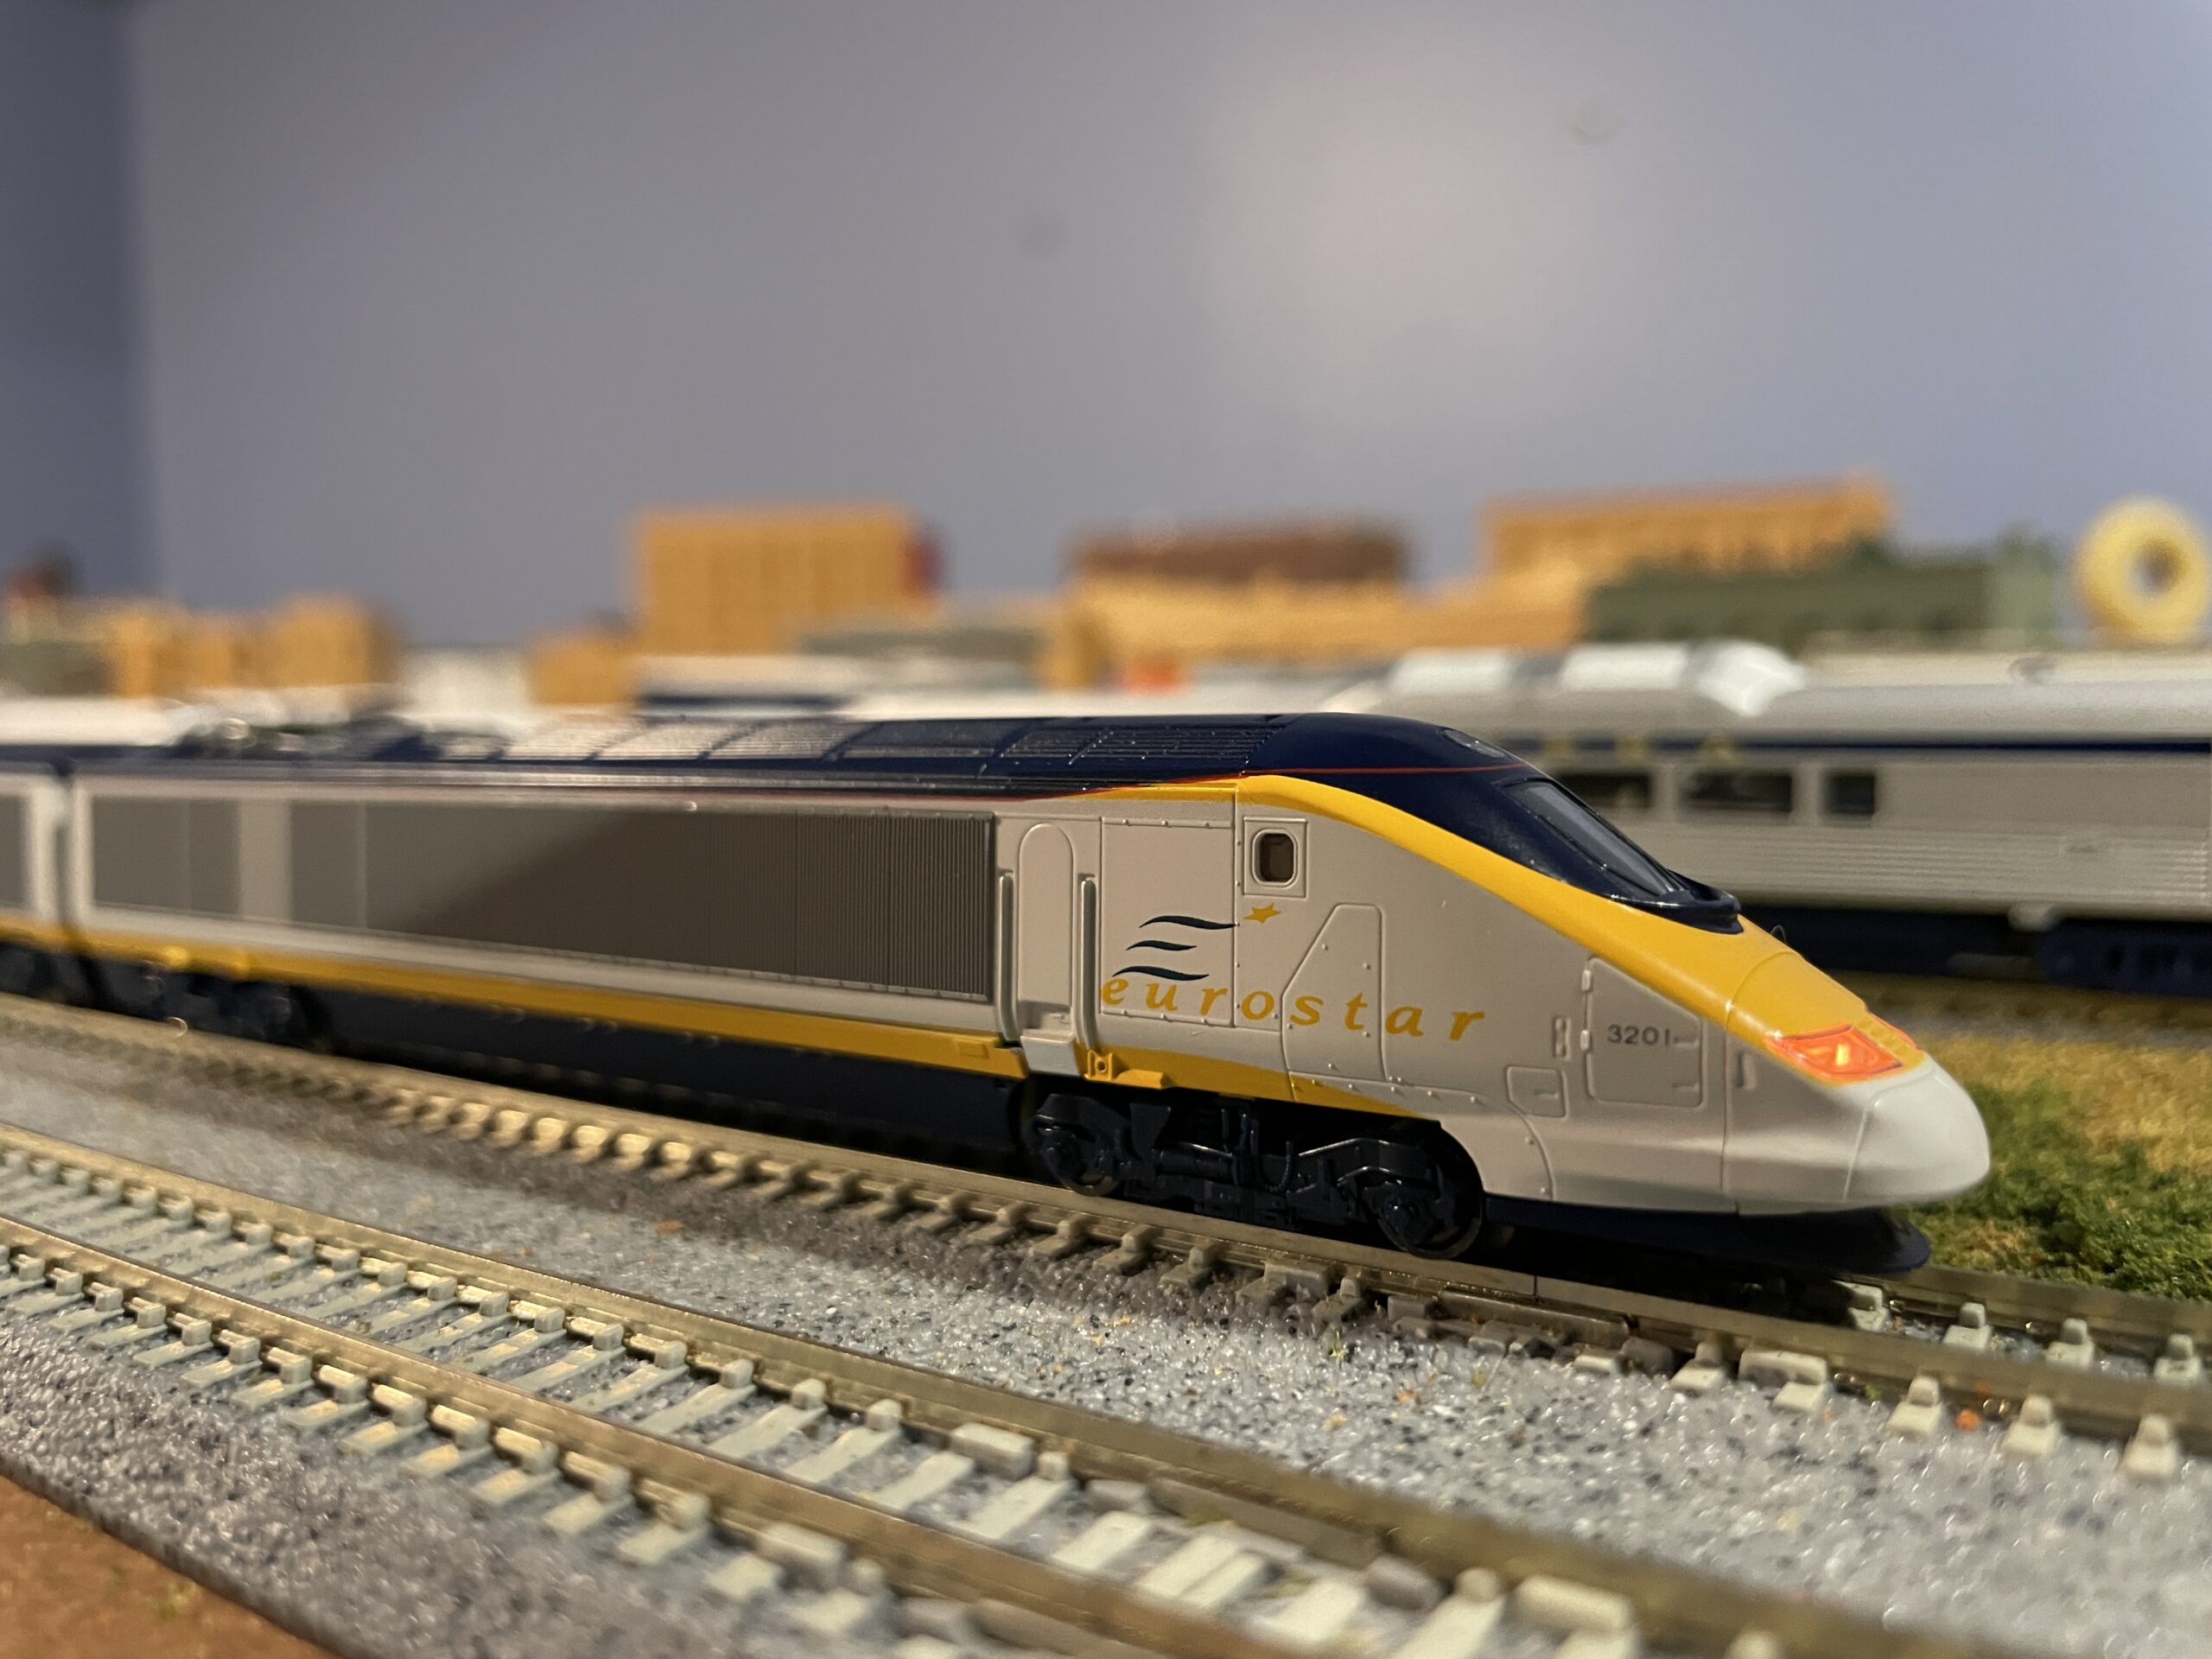
Looks great right? When the Eurostar is running and everything is working right it runs and looks great… Did you notice how closely coupled everything is? The cars being as closely coupled as they are makes this train look extremely true to life.

Closely coupled cars like this are a staple of Kato’s models of high speed trains, instead of using the Micro-Trains or Kadee style couplers that you find on most trains – on Kato’s high speed trains they use a specialized coupler that isn’t compatible with anything else. Every model of a high speed train that Kato produces has a different bespoke coupler – for the most part. On the Eurostar, the coupler that mates the head/end car to the car behind it, is a massive weakness.
It is the most poorly conceived coupler design that I’ve ever seen, and it truly sucks.

On the right is the coupler from the head/end car… Those two strips of plastic of which the lower one has a nub and channel is supposed to connect to the strip of plastic you see on the left which is the front of the next car. Those strips of plastic – which are essentially coupled together with a touch of friction and a prayer are supposed to keep the power car connected to the 7 cars behind it as it pulls the train along from the lead…
On flat, straight track it works ok… Not great… but ok…
Introduce some curves into the mix, or an incline and there’s a pretty good chance that the power car is going to uncouple and go running off as the rest of the consist coasts to a stop. Things work a little better if the power car is at the rear of the train and pushing the entire consist, but if the speed isn’t just right then everything comes apart on a down grade.

The thing is, as horrible as this coupler is – Kato is still using it!!!! This model was first released over 20 years ago. Kato’s done at least one if not two re-releases of the Eurostar in it’s original livery, and they’ve released versions with Eurostar’s newer livery. All of those re-releases use this same stupid coupler configuration on the power cars. Plus they’ve put this annoying coupler configuration on their Thalys models too!
I don’t get it. I don’t get why Kato insists on using this coupler mechanism on these trains when they have at least a half dozen other custom coupler configurations that provided a similar close coupled look and keep things coupled. Those stupid couplers almost ruin a fantastic model from Kato…